

go-test-report captures go test output and parses it into a single self-contained HTML file.
Installation
Install the go binary using go get.
NOTE: To run the binary, add the bin folder from go's workspace directory to the exported PATH variable in your shell. The default workspace folder is a directory named go within your user home directory (~/go for Linux and macOS, %USERPROFILE%/go for Windows).
$ go get -u github.com/jdsmdev/go-test-report/
Usage
To use go-test-report with the default settings.
$ go test -json | go-test-report
The aforementioned command outputs an HTML file in the same location.
test_report.html
Everything needed to display the HTML file correctly is located inside of the file, providing an easy way to store and host the test results.
Understanding HTML test report
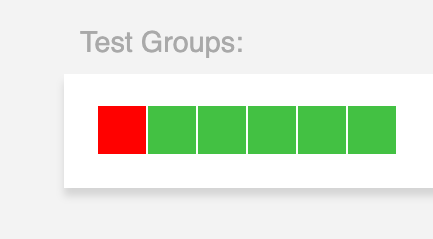
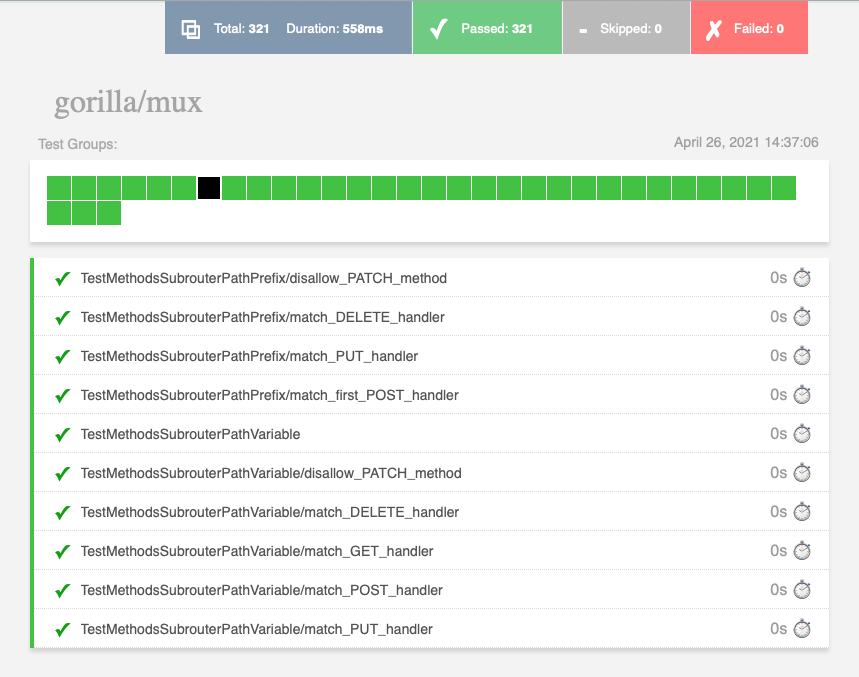
The HTML file generated by go-test-report is designed to provide an easy way to navigate test results. At the top of the page are general stats related to the test. Below is the title of the test followed by a section called "Test Groups". Tests are organized into these groups which are represented by color-coded squares. A green square indicates that all test in that group passed.

A red square indicates that at least one test in that group failed.

To view the tests in a particular test group, click on any of the test group indicators. A selected group indicator will be colored in black.

To view the output of a related test, click on the title of a test on the list. If you want to expand all of the test on the list, simultaneously press shift and the test group indicator.

Configuration
Additional configuration options are available via command-line flags.
Usage:
  go-test-report [flags]
  go-test-report [command]

Available Commands:
  help        Help about any command
  version     Prints the version number of go-test-report

Flags:
  -h, --help            help for go-test-report
  -o, --output string   the HTML output file (default "test_report.html")
  -s, --size string     the size (in pixels) of the clickable indicator for test result groups (default "24")
  -t, --title string    the title text shown in the test report (default "go-test-report")
  -v, --verbose         while processing, show the complete output from go test

Use "go-test-report [command] --help" for more information about a command.
The name of the default output file can be changed by using the -o or --output flag. For example, the following command will change the output to my-test-report.html.
$ go test -json | go-test-report -o my-test-report.html
To change the default title shown in the test_report.html file.
$ go test -json | go-test-report -t "My Test Report"
Use the -s or --size flag to change the default size of the group size indicator. For example, the following command will set both the width and height of the size of the indicator to 48 pixels.
$ go test -json | go-test-report -s 48
Additionally, both the width and height of the group size indicator can be set. For example, the following command will set the size of the indicator to a width of 32 pixels and a height of 16 pixels.
$ go test -json | go-test-report -g 32x16
Building from source
GNU make is used as the main build automation tool for go-test-report. MacOS users may need to upgrade their local make to the latest version using homebrew.
$ brew install homebrew/core/make
After the update is complete make will become gmake
To build go-test-report from source.
$ gmake genbuild
Because go-test-report embeds the HTML and Javascript code necessary to generate the report output file, a command to generate the embedded go code is needed.
$ gmake gencode
Alternatively, make genbuild can be used which automatically runs gencode before genbuild
To build the testing container (This is the same docker image used during build automation):
$gmake dockertest
To build release binaries,
$ gmake buildall
Creates a folder in the root project folder called release_builds that contains builds for the following platforms:
darwin/amd64 (MacOS)linux/amd64windows/amd64
Contributors
@afbjorklund
@quarckster
@vakenbolt
@jdsmdev
Contribute & Support
 Documentation