FastTrackML
An experiment tracking server focused on speed and scalability, fully compatible
with MLFlow.
Quickstart
Run the tracking server
[!NOTE]
For the full guide, see our quickstart guide.
FastTrackML can be installed and run with pip:
pip install fasttrackml
fml server
Alternatively, you can run it within a container with
Docker:
docker run --rm -p 5000:5000 -ti gresearch/fasttrackml
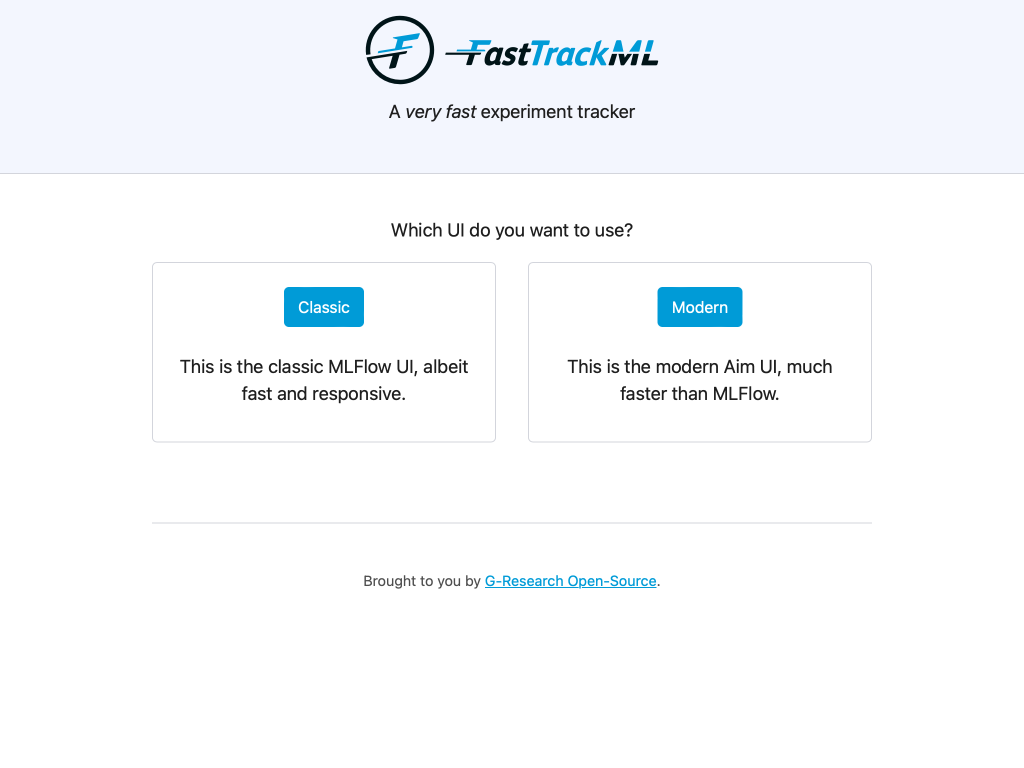
Verify that you can see the UI by navigating to http://localhost:5000/.

For more info, --help is your friend!
Track your experiments
Install the MLFlow Python package:
pip install mlflow-skinny
Here is an elementary example Python script:
import mlflow
import random

# Set the tracking URI to the FastTrackML server
mlflow.set_tracking_uri("http://localhost:5000")
# Set the experiment name
mlflow.set_experiment("my-first-experiment")

# Start a new run
with mlflow.start_run():
    # Log a parameter
    mlflow.log_param("param1", random.randint(0, 100))

    # Log a metric
    mlflow.log_metric("foo", random.random())
    # metrics can be updated throughout the run
    mlflow.log_metric("foo", random.random() + 1)
    mlflow.log_metric("foo", random.random() + 2)
Developer
FastTrackML can be built and tested within a
dev container. This is the recommended way as the
whole environment comes preconfigured with all the dependencies (Go SDK,
Postgres, Minio, etc.) and settings (formatting, linting, extensions, etc.) to
get started instantly.
GitHub Codespaces
If you have a GitHub account, you can simply open FastTrackML in a new GitHub
Codespace by clicking on the green "Code" button at the top of this page.
You can build, run, and attach the debugger by simply pressing F5. The unit
tests can be run from the Test Explorer on the left. There are also many targets
within the Makefile that can be used (e.g. build, run, test-go-unit).
Visual Studio Code
If you want to work locally in
Visual Studio Code, all you need is to have
Docker and the
Dev Containers extension
installed.
Simply open up your copy of FastTrackML in VS Code and click "Reopen in
container" when prompted. Once the project has been opened, you can follow the
GitHub Codespaces instructions above.
[!IMPORTANT]
Note that on MacOS, port 5000 is already occupied, so some
adjustments are necessary.
CLI
If the CLI is how you roll, then you can install the
Dev Container CLI tool and follow the
instruction below.
CLI instructions
[!WARNING]
This setup is not recommended or supported. Here be dragons!
You will need to edit the .devcontainer/docker-compose.yml file and uncomment
the services.db.ports section to expose the ports to the host. You will also
need to add FML_LISTEN_ADDRESS=:5000 to .devcontainer/.env.
You can then issue the following command in your copy of FastTrackML to get up
and running:
devcontainer up
Assuming you cloned the repo into a directory named fasttrackml and did not
fiddle with the dev container config, you can enter the dev container with:
docker compose --project-name fasttrackml_devcontainer exec --user vscode --workdir /workspaces/fasttrackml app zsh
If any of these is not true, here is how to render a command tailored to your
setup (it requires jq to be
installed):
devcontainer up | tail -n1 | jq -r '"docker compose --project-name \(.composeProjectName) exec --user \(.remoteUser) --workdir \(.remoteWorkspaceFolder) app zsh"'
Once in the dev container, use your favorite text editor and Makefile targets:
vscode ➜ /workspaces/fasttrackml (main) $ vi main.go
vscode ➜ /workspaces/fasttrackml (main) $ emacs .
vscode ➜ /workspaces/fasttrackml (main) $ make run
License
Copyright 2022-2023 G-Research
Copyright 2019-2022 Aimhub, Inc.
Copyright 2018 Databricks, Inc.
Licensed under the Apache License, Version 2.0 (the "License"); you may not use
these files except in compliance with the License.
You may obtain a copy of the License at
http://www.apache.org/licenses/LICENSE-2.0
Unless required by applicable law or agreed to in writing, software
distributed under the License is distributed on an "AS IS" BASIS,
WITHOUT WARRANTIES OR CONDITIONS OF ANY KIND, either express or implied.